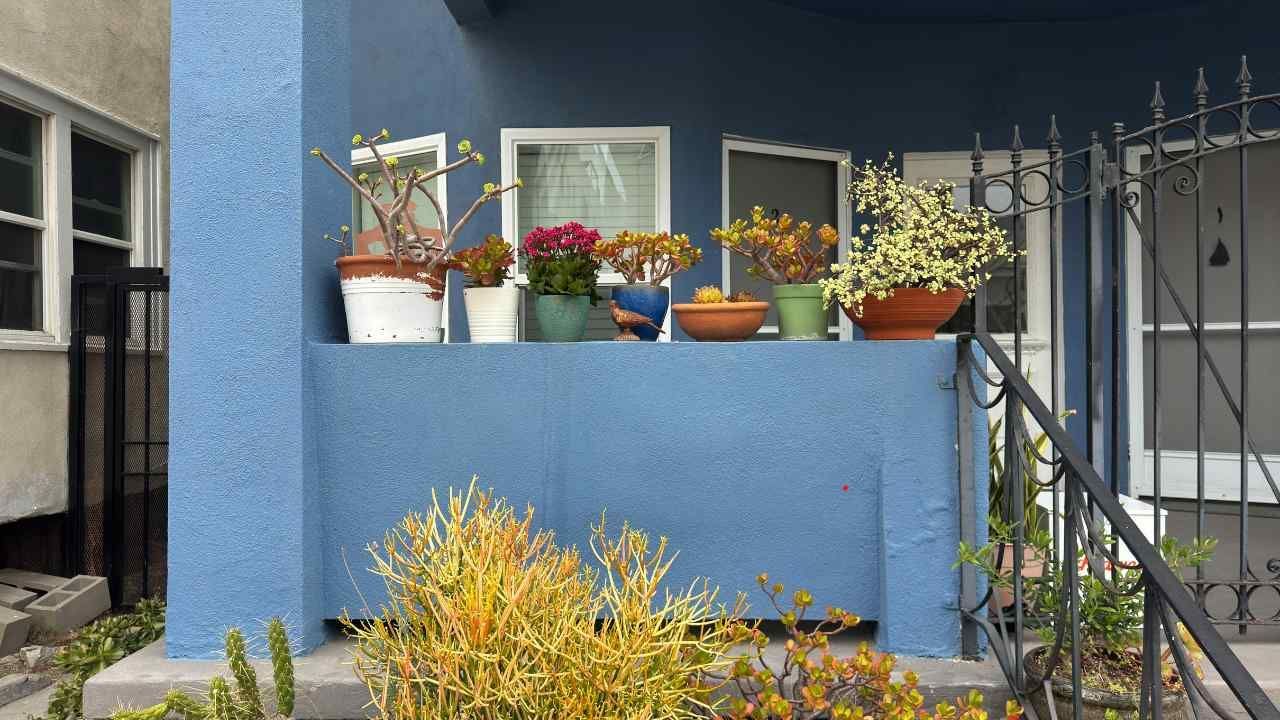
A freshly painted concrete porch can completely change how your home looks from the curb. But if you’ve ever seen paint start to peel or fade after just one rainy season, you know it takes more than a brush and a weekend to do the job right. Whether you’re aiming for a sleek modern finish or a rustic charm, the key is preparation and the right materials.
In this guide, you’ll learn how to properly clean, prep, paint, and seal your concrete porch so it stands strong against the elements year after year.
Step 1: Start with a Deep Clean
Paint won’t stick to dirt, grease, or mildew. Begin by sweeping the entire porch to remove debris, then wash it thoroughly with a mixture of water and a concrete-safe cleaner. For stubborn stains, a pressure washer can make a huge difference.
If you notice any cracks or chips, repair them with concrete filler before painting. Give the surface at least 24 hours to dry—longer if humidity is high. Patience at this stage pays off later in durability and finish.
Step 2: Etch and Prime the Surface
Concrete is naturally smooth and nonporous, which makes it difficult for paint to grip. Etching helps solve that. You can use a concrete etching solution, following the manufacturer’s directions carefully. Once the surface has been rinsed and dried again, it’s time to apply primer.
Use a masonry or concrete bonding primer designed for outdoor use. This step ensures your paint adheres well and won’t flake when temperatures shift from hot summers to frosty winters. If you’re not confident about choosing the right products, an exterior house painter in Gresham Oregon can help you select high-performance coatings that match your climate and style.
Step 3: Choose the Right Paint and Application Method
Not all paints are created equal. For porches and patios, look for epoxy or acrylic latex paint formulated specifically for concrete. These types are built to withstand foot traffic, sunlight, and moisture.
Apply paint using a high-quality roller for even coverage, working in thin coats. Two coats are typically ideal—just make sure the first coat dries completely before applying the next. Avoid painting under direct sunlight or when rain is expected within 24 hours.
A professional house painting team will often use industrial-grade sprayers for a flawless finish and may add anti-slip additives for safety—especially important in wet climates.
Step 4: Seal It for Longevity
The final (and often overlooked) step is sealing. A concrete sealer provides a protective layer against moisture, UV rays, and dirt buildup. Choose a clear, non-yellowing sealer and apply it after the paint has fully cured—usually within 48 to 72 hours.
Reapply the sealer every two to three years to maintain that “just-painted” look and keep the porch surface easy to clean.
Case Study: A Porch That Stood the Test of Time
One homeowner in Gresham decided to update their faded porch before putting their house on the market. They hired Premier Painting & Contracting LLC to handle the job. The team started by power-washing and repairing cracks, then used a concrete bonding primer followed by two coats of weather-resistant epoxy paint. Two years later, the finish still looked vibrant, with no peeling or chipping—even after heavy rain and freezing winters.
This is proof that when prep work meets professional technique, long-lasting results follow.
Step 5: Maintain the Finish
A well-painted porch still needs regular care. Sweep away debris weekly, rinse off dirt as needed, and touch up minor scuffs before they grow. Avoid using harsh chemicals that could wear down the sealant.
Following these simple habits will help your porch stay beautiful and resilient season after season.
Final Thoughts
Painting a concrete porch isn’t just about aesthetics—it’s about creating a durable, low-maintenance surface that can handle daily life and shifting weather. With proper prep, quality materials, and a bit of know-how, you can make your porch a feature you’re proud of for years.
If you’d rather skip the trial and error, get in touch with a local expert to do it right the first time. Sometimes, investing in professional help is what truly makes the paint last.


