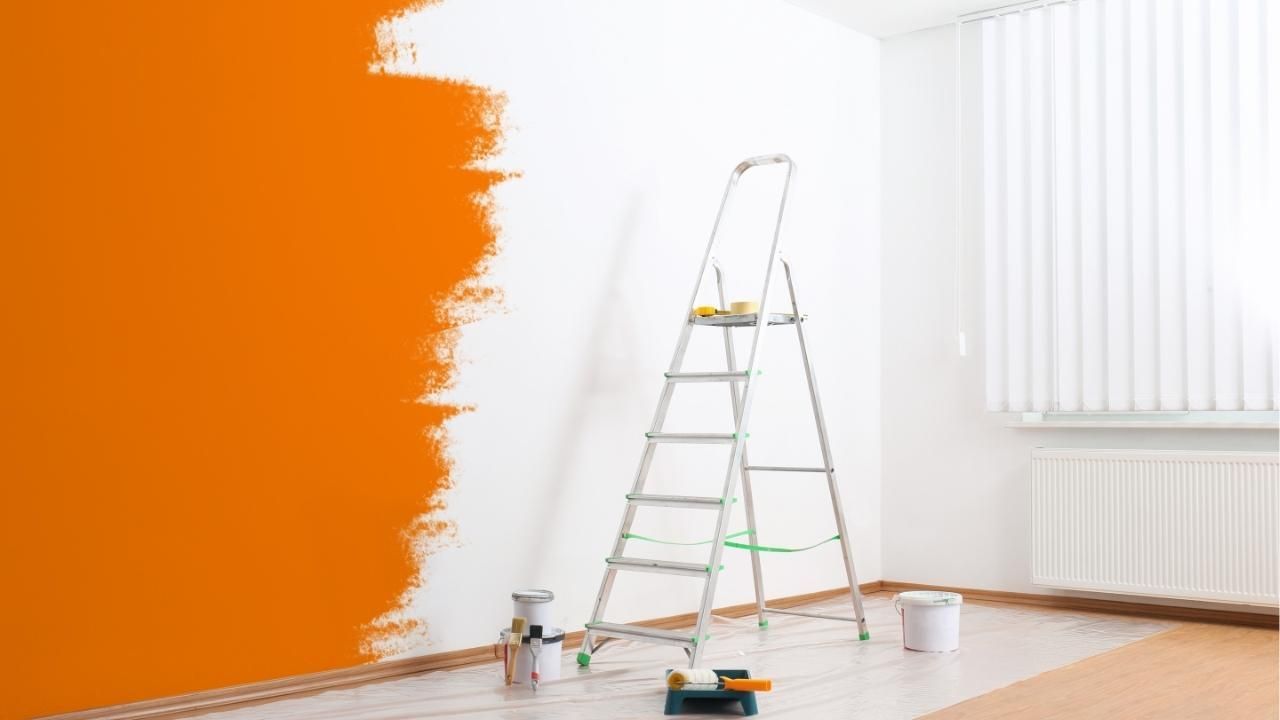
How to Paint Over Old or Faded Exterior Finishes

When your home’s exterior starts to lose its color and charm, it’s not just about looks—it’s a sign your paint is breaking down. Cracking, peeling, or fading paint leaves your home vulnerable to moisture, sun damage, and decay. Fortunately, with the right prep work and materials, you can refresh your exterior and give it a whole new lease on life.
In this guide, you’ll learn how to paint over old or faded exterior finishes properly, from cleaning to priming and applying the final coat. Whether you plan to DIY or hire professionals, these steps will help you achieve a lasting, beautiful finish.
Step 1: Inspect and Prepare the Surface
Before you even open a paint can, take time to inspect your home’s exterior. Look for signs of peeling paint, mold, mildew, or rotted wood. These problems must be addressed before applying new paint.
- Peeling paint: Use a paint scraper or wire brush to remove loose material.
- Mold or mildew: Clean the surface using a mix of water and household bleach.
- Damaged wood or siding: Repair or replace areas where the surface is too far gone.
If the job feels overwhelming or the damage seems widespread, it’s smart to call experts offering residential painting services in Gresham OR—like Premier Painting & Contracting LLC—to ensure everything’s handled properly from start to finish. Their skilled team that specializes in exterior painting can spot issues you might miss and guarantee the surface is ready for a flawless new coat.
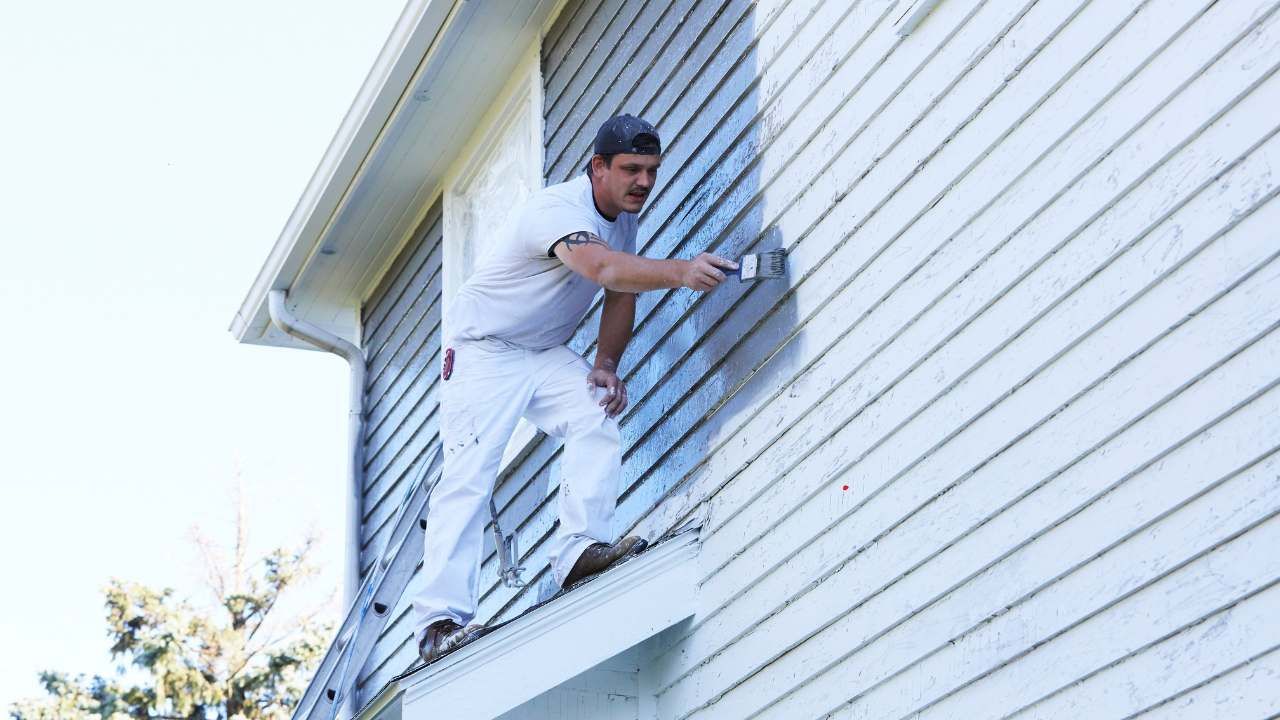
Step 2: Wash and Sand the Surface
Dirt, dust, and old paint flakes prevent new paint from adhering correctly. Use a pressure washer on a gentle setting to clean the surface thoroughly, removing grime and chalky residue. Allow at least 24 hours of drying time before sanding.
Sanding may sound tedious, but it’s crucial. Use medium-grit sandpaper to smooth out rough edges and help the primer bond better. This step also helps blend areas where you scraped old paint away, so your new coat looks even and professional.
Step 3: Apply Primer
Primer acts as the foundation of your paint job—it seals the surface, covers stains, and helps your topcoat last longer. Always choose a primer that matches the type of surface you’re painting (wood, stucco, or metal) and the type of paint you’ll use.
For older homes, oil-based primers are excellent for sealing weathered wood and providing a solid base. On newer or previously painted surfaces, high-quality latex primers usually do the trick. Apply the primer evenly with a brush, roller, or sprayer, and let it dry completely before painting.
Step 4: Choose the Right Paint and Tools
Exterior paint isn’t all created equal. Look for paints labeled “exterior” with UV protection and weather resistance. Satin or semi-gloss finishes work best for durability and easy cleaning.
You’ll also need quality brushes and rollers suited for exterior use. A sprayer can speed up the job on large surfaces, but for trim and corners, a brush still provides better control.
Pro tip: Avoid painting under direct sunlight or in windy conditions—both can cause paint to dry too fast and lead to uneven finishes.
Step 5: Apply Two Coats for Best Results
After priming, apply your first coat of paint evenly and allow it to dry according to the manufacturer’s recommendations. Then, apply a second coat for full coverage and longer-lasting color. Two coats ensure the surface is properly sealed and gives a richer, more vibrant look.
For added protection, consider a clear UV-resistant topcoat, especially if your home faces long hours of direct sunlight.
Case Study: A Faded 1990s Home Gets a Fresh Start
A homeowner in Gresham recently decided to revitalize their 25-year-old siding. The paint had faded to a dull, patchy color after years of sun exposure. After power washing, sanding, and applying a weatherproof primer, the crew added two coats of high-grade exterior latex paint. The transformation was stunning—neighbors even thought the homeowners had replaced their siding. The fresh, modern color instantly boosted curb appeal and value.
Final Thoughts
Painting over an old or faded exterior finish isn’t just maintenance—it’s an investment in your home’s beauty and protection. Whether you’re handling a small touch-up or a full repaint, proper preparation makes all the difference.
If you want a finish that lasts for years, reach out to professionals who know the craft inside out. A trusted painting company will save you time, eliminate guesswork, and give your home that brand-new look it deserves.