How to Paint Trim, Ceilings, and Doors Like a Pro

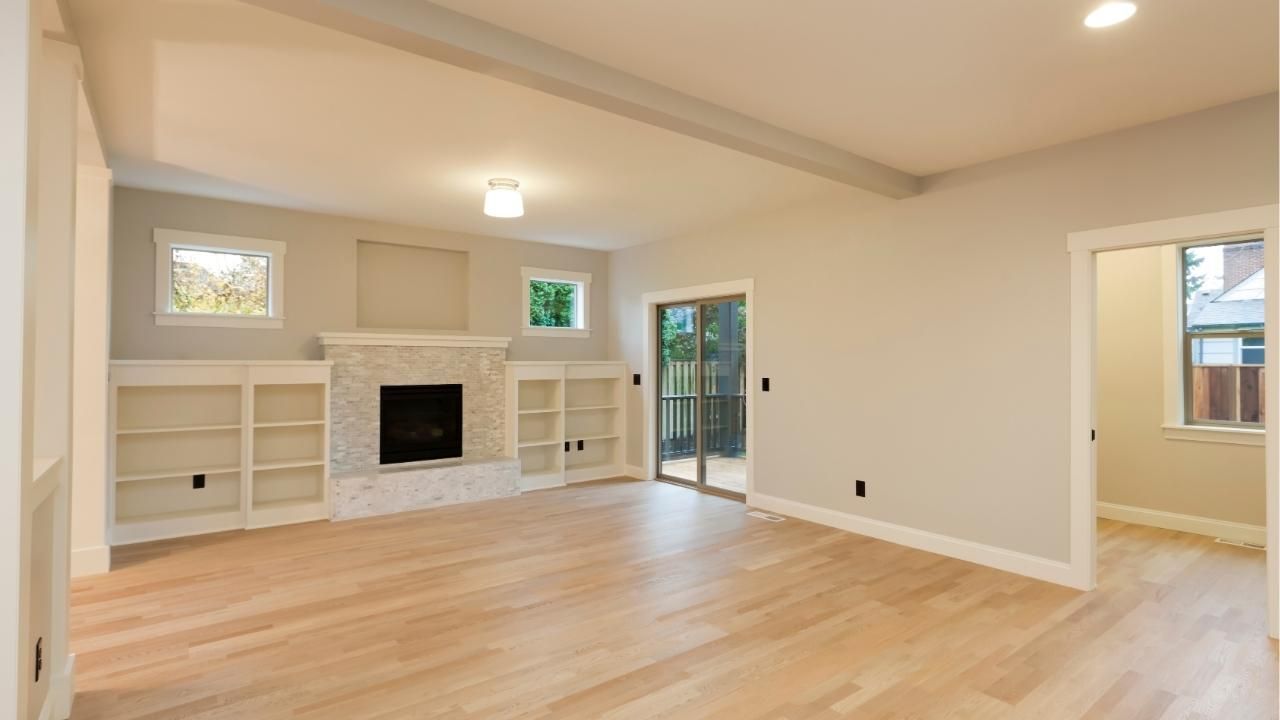
If you’ve ever walked into a freshly painted room and wondered why it looked so polished, chances are the trim, ceilings, and doors were painted with care. These details can make or break your project — and if you’re in Gresham, Oregon, you deserve to know how to get pro-level results.
In this quick guide, you’ll learn:
- How to prep trim, ceilings, and doors for paint
- Pro tips for clean lines and smooth finishes
- A simple step-by-step plan to get started
Let’s dive in and transform your living space with confidence.
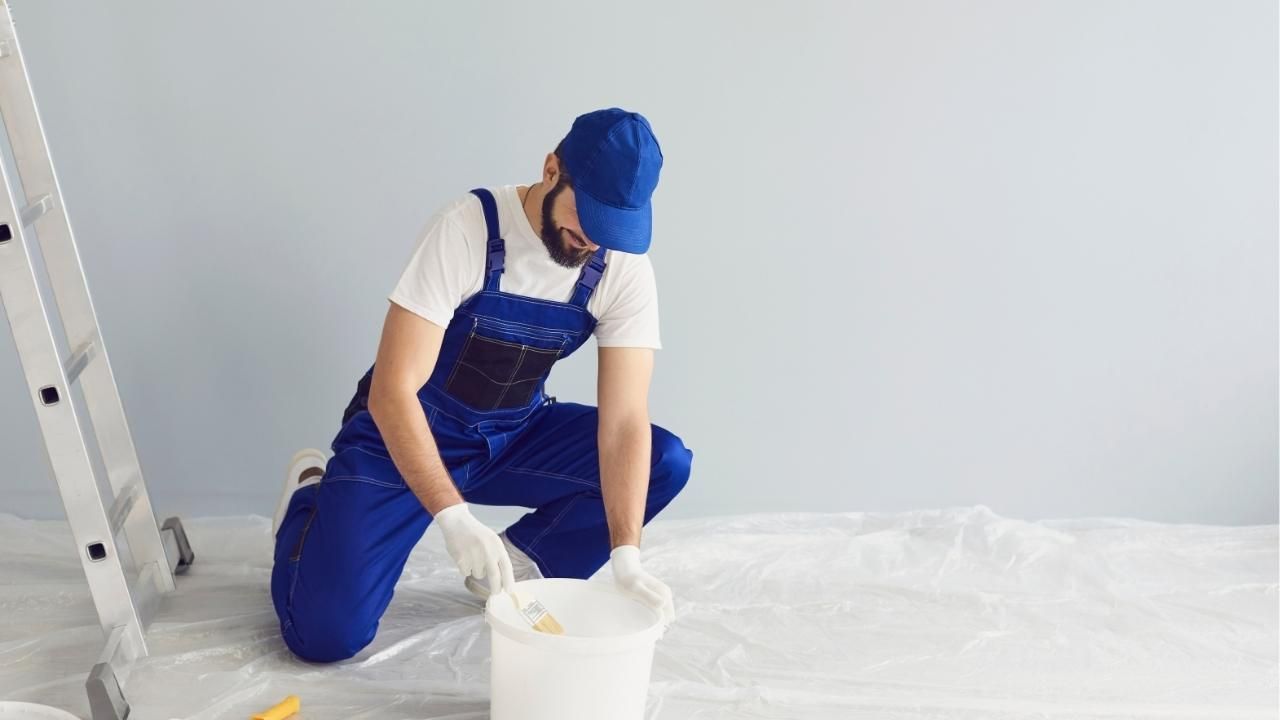
Prep Like a Pro
Before you even pop the lid on that paint can, proper prep is your secret weapon. Here’s how the pros do it:
- Clean thoroughly. Dirt, oils, and dust will ruin adhesion. Wipe down all surfaces with a mild cleaner and let them dry completely.
- Sand lightly. For trim and doors, a quick scuff sand helps paint grip better, especially if you’re painting over a glossy finish.
- Caulk gaps. Seal gaps and cracks in trim with a paintable caulk to get a seamless look.
- Use painter’s tape. Apply it carefully where walls meet trim and where trim meets floors for those crisp, straight edges.
Proper prep can feel tedious, but trust me, it makes the difference between amateur results and a flawless, professional finish.
Painting Trim
Trim work is all about precision. Here’s how to nail it:
- Choose the right paint. A semi-gloss or gloss finish is perfect for trim because it’s durable and easy to clean.
- Start with a brush. A high-quality angled sash brush gives you control to get into corners and tight spaces.
- Work in sections. Keep a wet edge and work with steady, even strokes to avoid brush marks.
- Remove tape while wet. This prevents peeling or cracking once the paint dries.
Case Study: A homeowner in Gresham hired a local painting crew to repaint 1950s-era trim covered in old, chipped paint. The crew carefully sanded the trim, primed it, and applied two coats of crisp white semi-gloss. The result was a dramatic, modern update — and far cheaper than replacing the trim altogether.
Painting Ceilings
Many homeowners dread painting ceilings, but it doesn’t have to be a headache.
- Use a flat finish. Flat paint hides imperfections and prevents glare.
- Cut in first. With a brush, paint around light fixtures and edges before rolling.
- Use a roller with an extension pole. Work in overlapping rows to keep coverage even.
- Keep the room ventilated. Ceiling paint takes longer to dry, so good airflow is a must.
A freshly painted ceiling brightens any room — you might be surprised how much fresher the whole space feels!
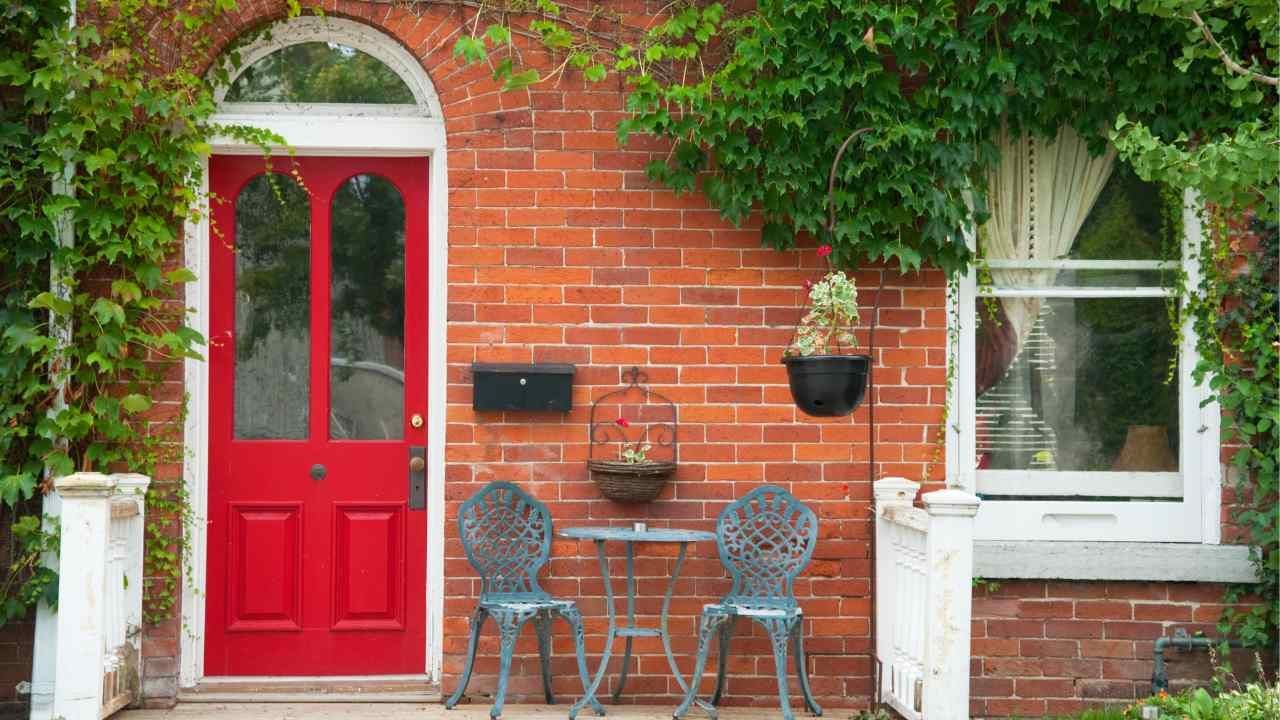
Painting Doors
Doors see a lot of wear, so durability matters.
- Remove hardware (if possible) to get a cleaner finish.
- Prime if needed, especially over bare wood or dark colors.
- Use a foam roller for the flat panels, and a brush for edges and recesses.
- Let each coat dry completely before closing the door, to avoid sticking.
You’ll be amazed at how a clean, freshly painted door can transform the entry to any room.
Should You DIY or Hire a Pro?
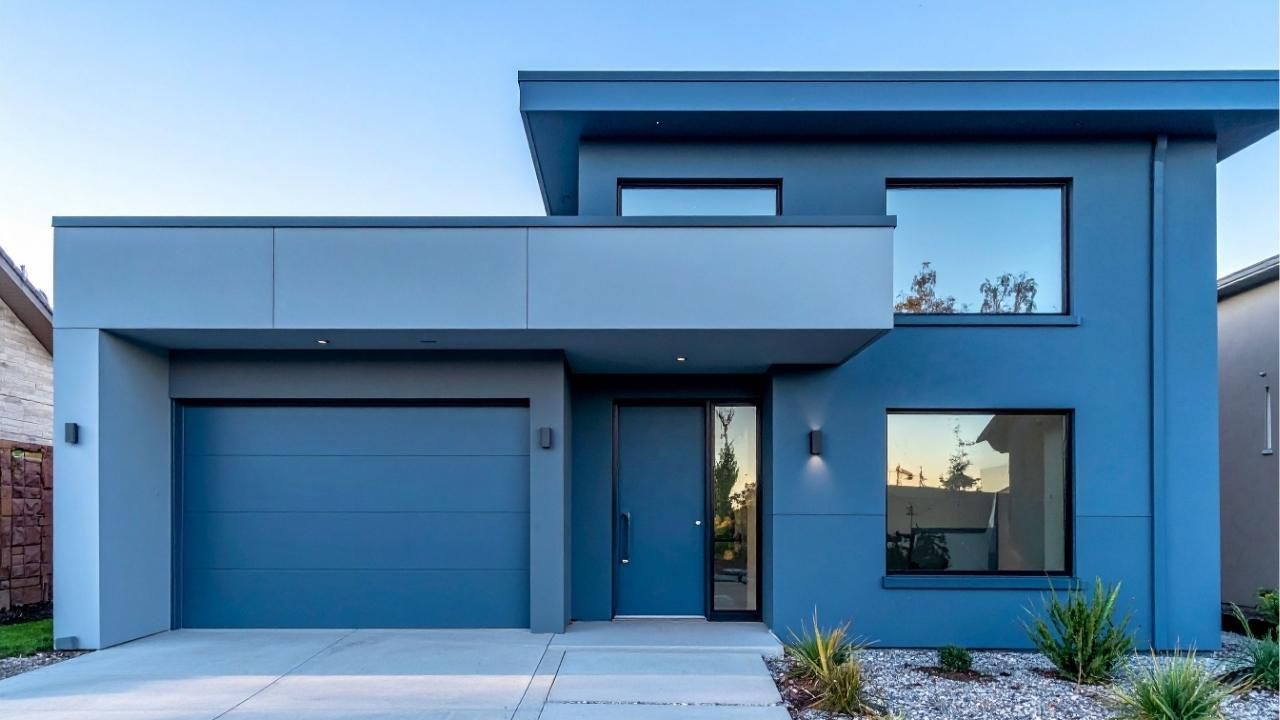
While these steps will help you get great results on your own, some projects — like matching tricky paint colors or working on tall ceilings — are best left to a professional. For Gresham Oregon homeowners, Premier Painting offers top-quality painting services, both interior and exterior painting. Their team can help you get a flawless finish without the stress.
Ready to transform your home? Whether you tackle it yourself or call in the experts, fresh paint is one of the best ways to add instant appeal and value. If you want a seamless, professional look, don’t hesitate to contact your local painting pros today.