DIY Deck Staining: Step-by-Step Instructions for Beginners


A freshly stained deck can completely transform your backyard. The wood looks richer, the color pops, and the entire outdoor space suddenly feels more inviting. The best part? You don’t have to be a professional to do it yourself.
In this guide, you’ll learn exactly how to stain your deck step by step. We’ll cover preparation, choosing the right stain, applying it correctly, and avoiding common mistakes beginners make.
Why Deck Staining Matters
Decks are constantly exposed to sun, rain, and temperature changes. Over time, untreated wood dries out, fades, and can even start to crack or rot.
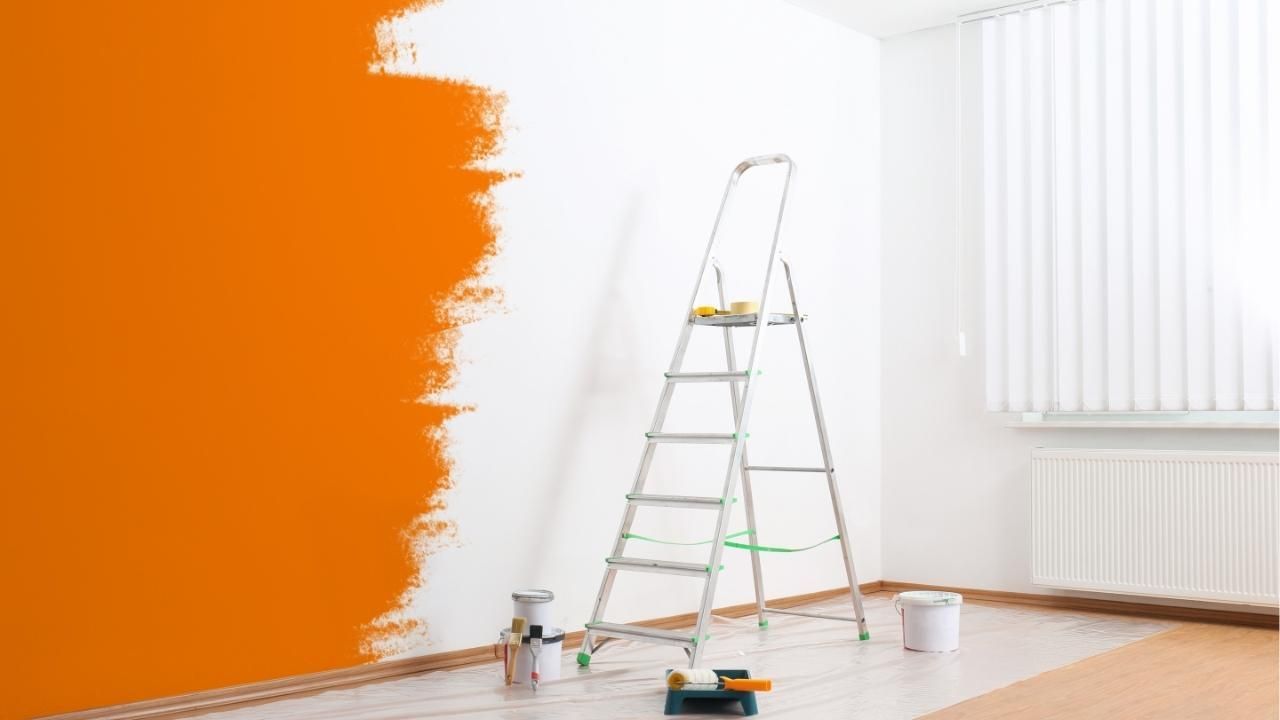
Staining protects your deck and keeps it looking great for years. While many homeowners rely on Gresham OR residential painting services for professional help, staining your own deck can be a satisfying and budget-friendly project.
Deck staining is similar to other forms of exterior painting, but wood requires extra preparation and care. The goal isn’t just color, it’s long-term protection.
Benefits of staining your deck include:
- Protecting wood from moisture damage
- Preventing fading caused by UV rays
- Extending the life of your deck
- Improving the overall look of your outdoor space
Once you understand the basics, the process becomes surprisingly manageable.
Step 1: Prepare the Deck Surface
Preparation is the most important part of the entire project. Skip this step and even the best stain won’t last.
Start by clearing everything off the deck:
- Outdoor furniture
- Planters and decorations
- Rugs or mats
Next, clean the surface thoroughly.
You can use:
- A deck cleaner solution
- A stiff brush or deck scrubber
- A pressure washer (on a low setting)
This removes dirt, mildew, and old stain residue.
After cleaning, allow the deck to dry completely. This usually takes 24–48 hours, depending on the weather.
If the wood feels rough or splintered, lightly sand the surface. Sanding helps the stain absorb evenly.
Step 2: Choose the Right Deck Stain
Not all deck stains are the same. Choosing the right type makes a big difference in durability and appearance.
The three most common types are:
Transparent stains
- Show the natural wood grain
- Offer lighter protection
- Require more frequent maintenance
Semi-transparent stains
- Balance color and wood visibility
- Provide moderate protection
Solid stains
- Provide the most coverage
- Hide imperfections in the wood
- Last longer between applications
Most beginners prefer semi-transparent stains because they’re forgiving and still highlight the natural wood texture.
Before buying, test a small sample on an inconspicuous area of your deck.
Step 3: Apply the Deck Stain Properly
Once the deck is clean and dry, you’re ready to apply the stain.
You’ll need:
- A paint roller or deck staining pad
- A brush for corners and edges
- A paint tray or bucket
Work in small sections and follow the wood grain.
Basic application tips:
- Start with railings first
- Move to deck boards afterward
- Apply thin, even coats
- Avoid puddles or thick buildup
Many beginners make the mistake of applying too much stain at once. Thin layers absorb better and dry more evenly.
Work slowly and steadily, especially around corners and seams.
Step 4: Allow Proper Drying Time
After applying the stain, patience is key.
Most stains require:
- 24 hours before light foot traffic
- 48 hours before placing furniture back
Check the manufacturer’s instructions because drying times can vary.
Avoid staining if rain is expected within the next 24 hours. Moisture can ruin the finish before it cures.
Case Study: A Weekend Deck Upgrade
One homeowner in Oregon decided to tackle deck staining after noticing their boards turning gray and worn. Instead of replacing the deck, they followed a simple preparation and staining process over a weekend.
After cleaning, sanding, and applying two thin coats of stain, the deck looked dramatically different. The rich color restored the wood’s natural beauty, and water began beading on the surface again, clear evidence of proper sealing.
The homeowner later admitted they almost hired a local painting expert, but after learning the process, they felt confident doing the project themselves. The result saved them hundreds of dollars and gave them a backyard space they were proud to show off.
Final Thoughts
DIY deck staining isn’t complicated, but it does require patience and proper preparation. Clean the wood thoroughly, choose the right stain, and apply it carefully.
Follow these steps and your deck can look like new again.
If you’d rather skip the labor and guarantee professional results, consider hiring experienced painters who specialize in outdoor surfaces. If you want guidance or professional help with your project, don’t hesitate to reach out and get advice from trusted experts before starting your deck staining project.