Interior House Painting in Gresham, OR: Rooms, Surfaces, Prep, and Finish Choices


A fresh coat of paint can change how a home feels the moment you walk in. In Gresham, where rainy seasons, changing light, and everyday family life all leave their mark, interior painting is not just about color, it is about comfort, protection, and creating rooms that feel truly finished.
In this guide, you will learn how to choose paint by room, match finishes to surfaces, prepare your home the right way, and avoid common mistakes that lead to uneven results or early wear.
Start With the Room, Not Just the Color
Every room has a different job, so every room deserves a slightly different painting plan. A bedroom may need soft, calming tones. A kitchen needs paint that can handle splatters, steam, and frequent cleaning. A living room should balance style with durability, especially if it gets heavy traffic from kids, pets, or guests.
When hiring a painting contractor in Gresham OR, ask how they recommend matching paint types to each room’s use. That conversation matters because the best paint for a bathroom is not always the best paint for a hallway.
For example:
- Bedrooms: Matte or eggshell finishes create a soft, relaxed look.
- Living rooms: Eggshell or satin offers a good mix of beauty and durability.
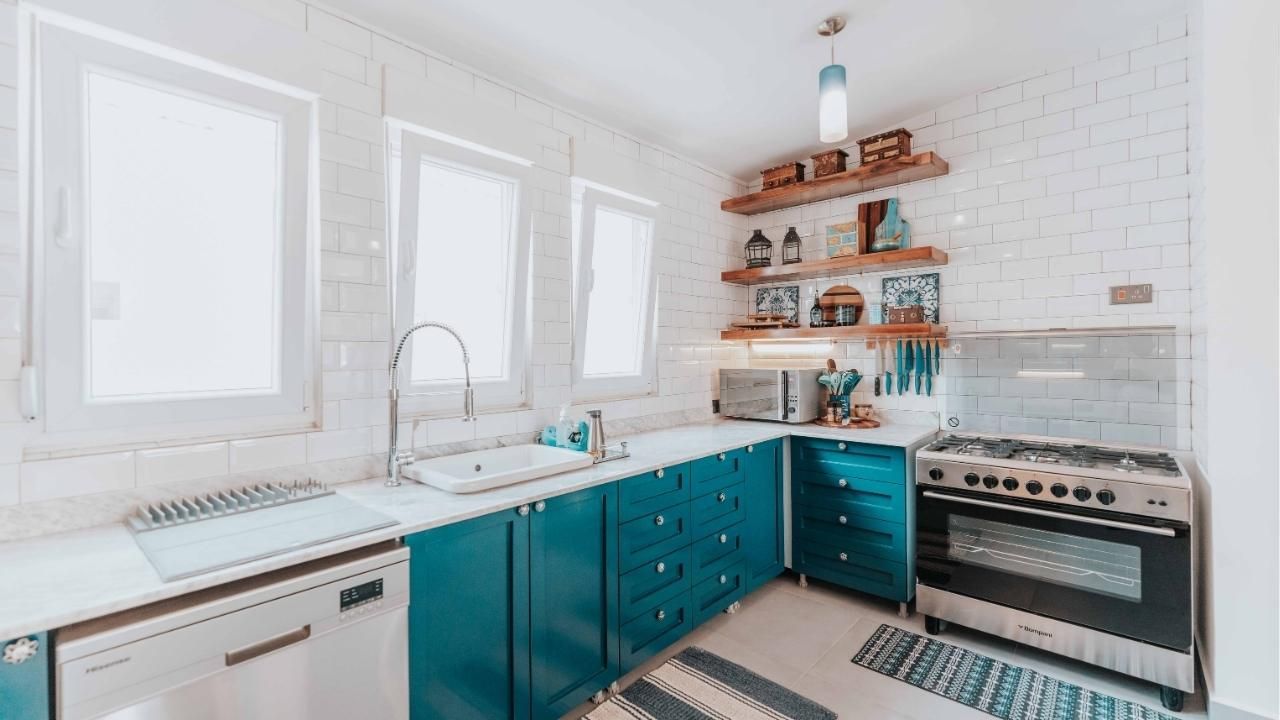
- Kitchens: Satin or semi-gloss makes cleanup easier.
- Bathrooms: Moisture-resistant paint helps fight peeling and mildew.
- Hallways: Satin is a smart choice because it handles scuffs better.
A skilled interior house painter in Gresham OR should help you think beyond color chips and look at lighting, layout, and daily wear.
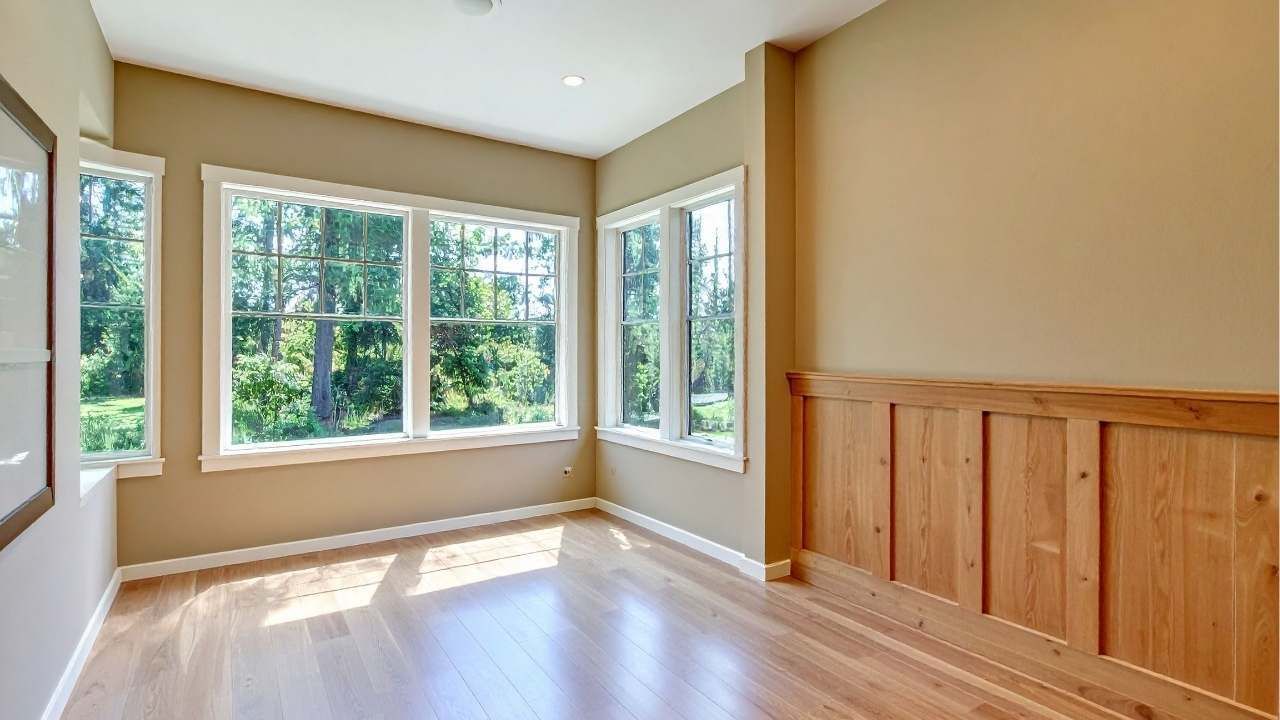
Surfaces Need Different Treatment
Walls are only one part of an interior painting project. Trim, doors, ceilings, cabinets, stair rails, and built-ins all require different products and techniques.
Drywall usually needs patching, sanding, priming, and careful rolling. Wood trim often needs cleaning, light sanding, and a smoother, more durable finish. Previously painted surfaces may need spot-priming if there are stains, repairs, or color changes involved.
This is where a professional painting services provider can make a major difference. Good painting work is not just what you see at the end. It is the repair work, masking, sanding, caulking, and priming that happen before the first finish coat goes on.
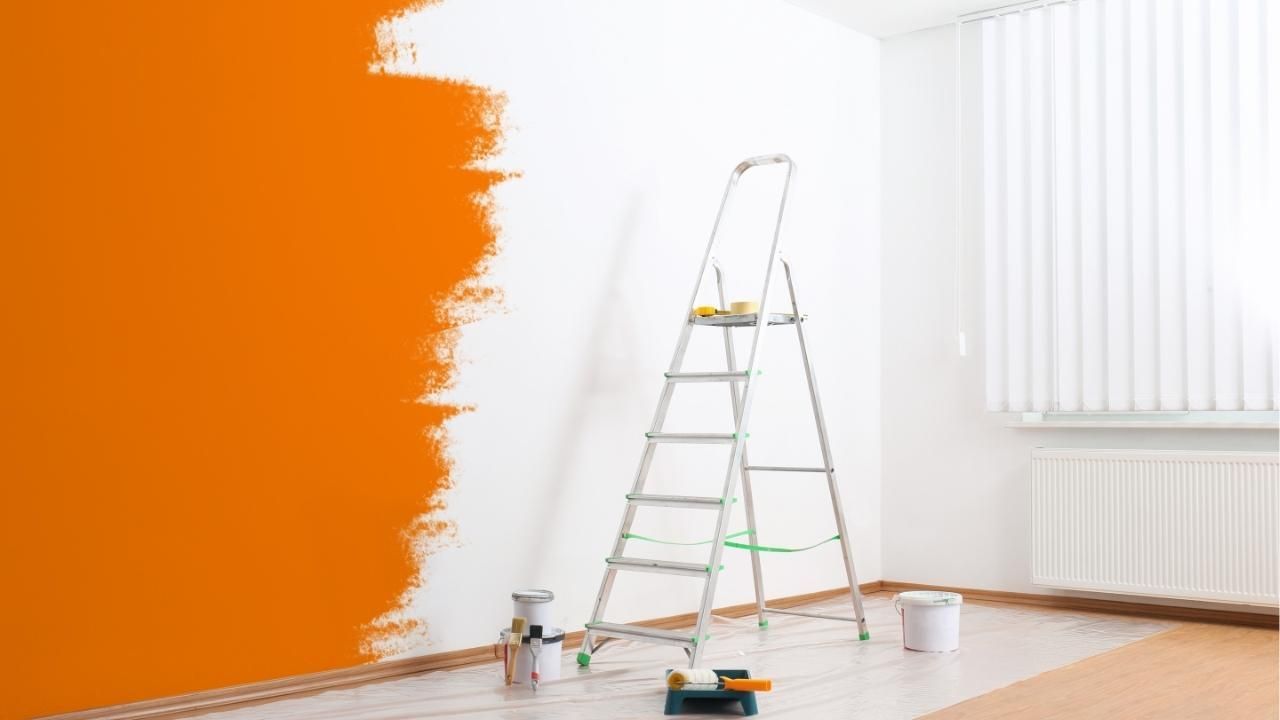
Prep Work Is Where Quality Begins
Poor prep is the fastest way to ruin an otherwise good paint job. If walls are dusty, greasy, cracked, or uneven, the paint will show it. In high-use areas, paint may peel, bubble, or chip sooner than expected.
Proper prep usually includes:
- Moving or covering furniture
- Protecting floors and fixtures
- Cleaning walls and trim
- Filling nail holes and small cracks
- Sanding rough spots
- Caulking gaps around trim
- Priming stains, repairs, or bare surfaces
Homes in Gresham can also deal with moisture-related issues, especially in bathrooms, laundry rooms, and older homes. Any signs of mildew, water staining, or peeling paint should be handled before repainting. Painting over a problem only hides it for a short time.
Choose the Right Finish for the Job
Paint finish affects both appearance and performance. Flat paint hides flaws well, but it is harder to clean. Glossy paint is durable, but it can highlight wall imperfections. The best choice depends on the room, surface, and level of use.
Here is a simple rule: use softer finishes where appearance matters most, and stronger finishes where cleaning matters most.
Eggshell is often a safe choice for main walls. Satin works well in busy rooms. Semi-gloss is ideal for trim, doors, and areas that need frequent wiping. Ceilings usually look best in flat paint because it reduces glare and hides surface marks.
Short Case Study: A Gresham Family Room Refresh
A Gresham homeowner wanted to brighten a dark family room without making it feel cold. The walls had scuffs, nail holes, and a few uneven patches from old décor. After repairing the drywall and priming the patched areas, the painters used a warm neutral eggshell finish on the walls and a crisp semi-gloss white on the trim. The room instantly felt cleaner, larger, and more inviting. The homeowner kept the same furniture, but the space looked completely updated because the prep, finish, and color choices worked together.
Final Thoughts
Interior painting is one of the most practical ways to improve your home, but the best results come from smart choices before the paint goes on. Think about how each room is used, what each surface needs, and which finish will hold up over time.
Ready to refresh your home? Start with one room, choose the right finish, and get in touch with a painter who treats prep as seriously as the final coat.