The Complete Interior Painting Checklist for Home Renovators

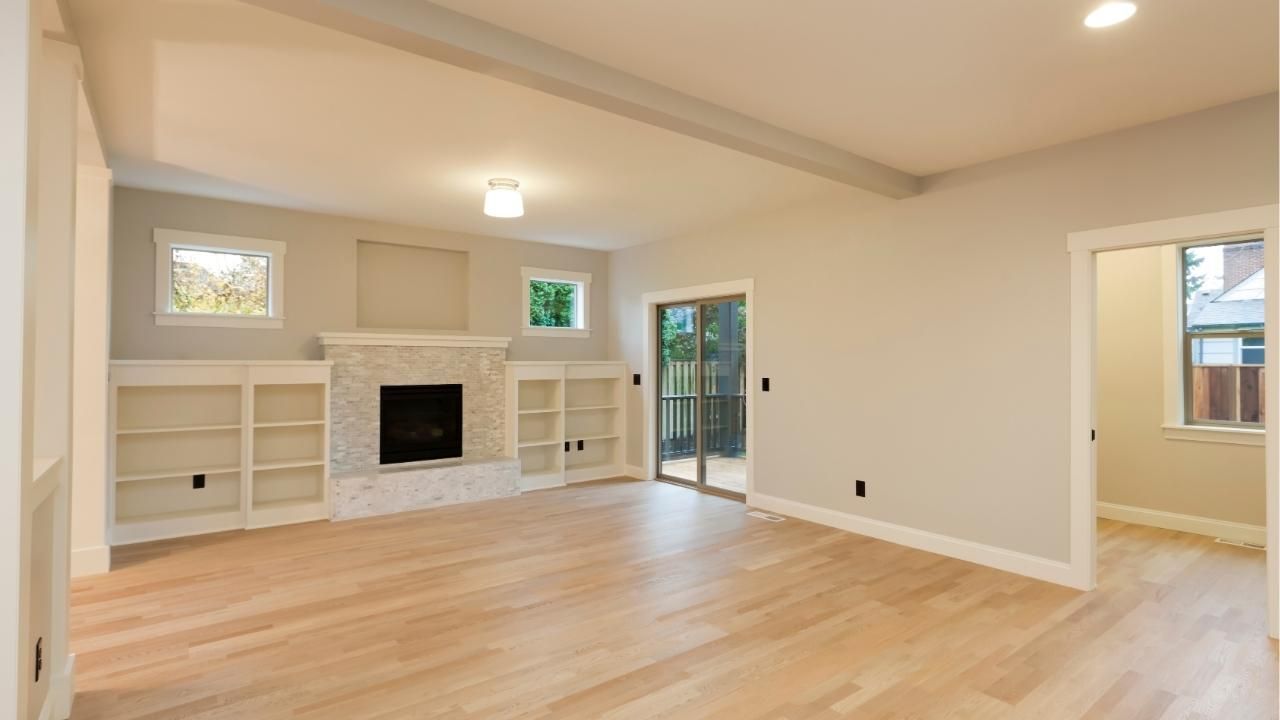
Freshly painted walls can make a house feel brand new, but anyone who’s tackled a paint job knows that results depend on preparation and process. Whether you’re giving your living room a new look or upgrading the entire home, following a clear step-by-step plan will save time, money, and frustration. Even if you’re planning to hire a Gresham Oregon house painter, understanding the right sequence of tasks ensures you’ll recognize quality work.
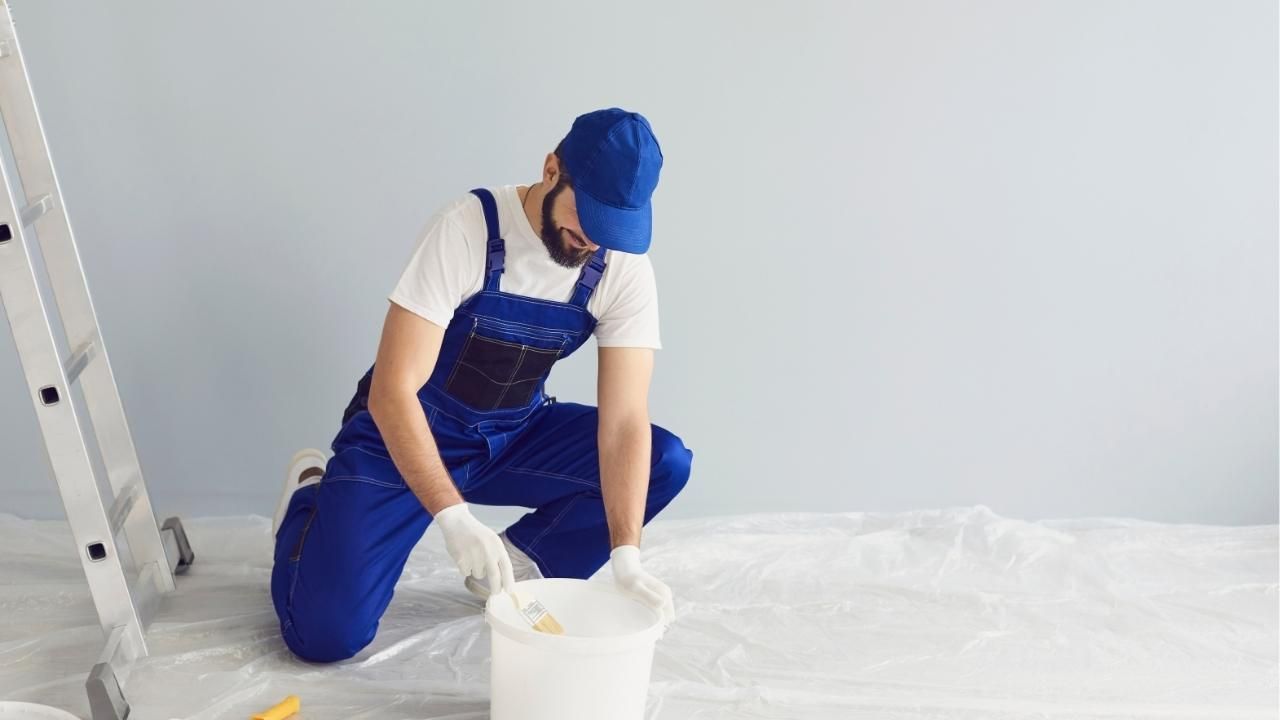
Many homeowners turn to trusted pros like Premier Painting & Contracting LLC for flawless finishes, but those who want to take on the project themselves should know what to expect from start to finish. After all, even the most skilled interior house painter in Gresham OR relies on a careful checklist to get consistent, professional results.
Below is a practical interior painting checklist designed to guide home renovators through each stage of the process.
Step 1: Clear and Protect the Space
Before the first brushstroke, the room needs to be ready for painting.
- Remove furniture or move it to the center of the room.
- Cover large items with plastic sheeting.
- Lay down drop cloths to protect floors.
Skipping this step leads to drips and splatters where you least want them. Taking an extra hour to prepare saves hours of cleanup later.
Step 2: Inspect and Repair Surfaces
Paint will not hide flaws—it highlights them. Examine your walls and ceilings carefully for cracks, nail holes, or peeling paint.
- Use spackle or joint compound to fill holes.
- Sand repaired areas smooth.
- Scrape away any chipped paint.
This step ensures your paint adheres properly and delivers a polished finish. Think of it as setting the stage before the main performance.
Step 3: Clean and Prime
Dust, grease, and residue prevent paint from sticking evenly. Wash walls with a mild soap solution and allow them to dry completely. In kitchens or bathrooms, degreasing is especially important. Once clean, apply primer to:
- Seal repaired patches.
- Prevent stains from bleeding through.
- Create a uniform surface for topcoats.
Primer might feel like an extra step, but it makes the final coat smoother and longer-lasting.
Step 4: Choose the Right Paint and Tools
When choosing paint, consider both sheen and durability.
- Flat or matte finishes hide imperfections but are harder to clean.
- Satin and eggshell finishes balance durability and appearance.
- Semi-gloss and gloss are ideal for trim and high-traffic areas.
Along with paint, invest in high-quality brushes and rollers. Cheap tools can shed bristles or leave uneven coverage, undermining your hard work.
Step 5: Cut In and Roll Like a Pro
Start by “cutting in” along edges with a brush, painting the borders where rollers can’t reach. Then, use a roller in overlapping W-shaped motions to fill in larger areas. This prevents streaks and keeps coverage consistent.
Work in sections to maintain a wet edge, which avoids lap marks once the paint dries.
Step 6: Allow Proper Drying Time
Patience is as important as technique. Always let the first coat dry completely before applying a second. Rushing this step can cause peeling, bubbling, or uneven texture. Check the paint can for recommended drying times, which may vary based on humidity and temperature.
Step 7: Final Touches and Cleanup
Inspect your work in both natural and artificial light to catch missed spots. Touch up where needed and carefully remove painter’s tape before the paint fully cures. Store leftover paint in sealed containers for future touch-ups, and clean your brushes and rollers right away to extend their lifespan.
Case Study: A Renovator’s Success Story
When a Gresham homeowner decided to update their dining room, they followed this checklist step by step. After cleaning, patching, and priming, they applied two coats of a satin finish paint. The result? A space that felt brighter, cleaner, and more modern. The homeowner admitted the prep work took more time than expected, but in the end, the finish looked so professional that guests assumed it was done by a contractor.
Final Thoughts
Interior painting is one of the most rewarding home renovation projects because the transformation is immediate. The secret lies in careful preparation, choosing the right materials, and following each step in order. Whether you’re doing it yourself or working with home painting professionals, a complete checklist ensures a finish you’ll love for years.
Ready to transform your walls?
Contact us to start your project today and enjoy the satisfaction of a home that feels brand new.