How a Professional Residential Painting Project Works From Estimate to Final Walkthrough


A great paint job should feel exciting, not confusing. Still, many homeowners hesitate because they do not know what actually happens between the first estimate and the final walkthrough. The good news is that a professional painting project follows a clear process, and when that process is handled well, your home feels cleaner, fresher, and more finished without unnecessary stress.
In this guide, you will learn how a residential painting project typically works from the first conversation to the last inspection. Whether you are updating one room, refreshing your exterior, or planning a full-home repaint, knowing the steps helps you make better decisions.
1. The Estimate Starts With Understanding Your Goals
The process usually begins with a simple conversation. A painter will ask what areas you want painted, what problems you are noticing, and what kind of look you want when the work is complete.
For homeowners comparing Gresham OR residential painting services, the estimate is where you should expect more than a quick price. A good contractor will look at wall condition, trim details, ceiling height, existing paint quality, surface damage, moisture concerns, and access issues.
During this stage, you may also discuss:
- Interior or exterior surfaces
- Paint colors and finishes
- Timeline expectations
- Furniture or landscaping protection
- Repairs needed before painting
- Budget range
If you are hiring an interior house painter in Gresham OR, the painter should also ask about your daily routine. That matters because bedrooms, kitchens, bathrooms, and home offices may need to be scheduled carefully so your household is not disrupted more than necessary.
A trustworthy local painting expert will explain what is included in the estimate, what may cost extra, and how long the job is likely to take. Clear expectations at the beginning prevent frustration later.
2. Prep Work Makes or Breaks the Project
Once the estimate is approved and the project is scheduled, preparation begins. This is the part many homeowners do not see in photos, but it is one of the biggest reasons professional results look better and last longer.
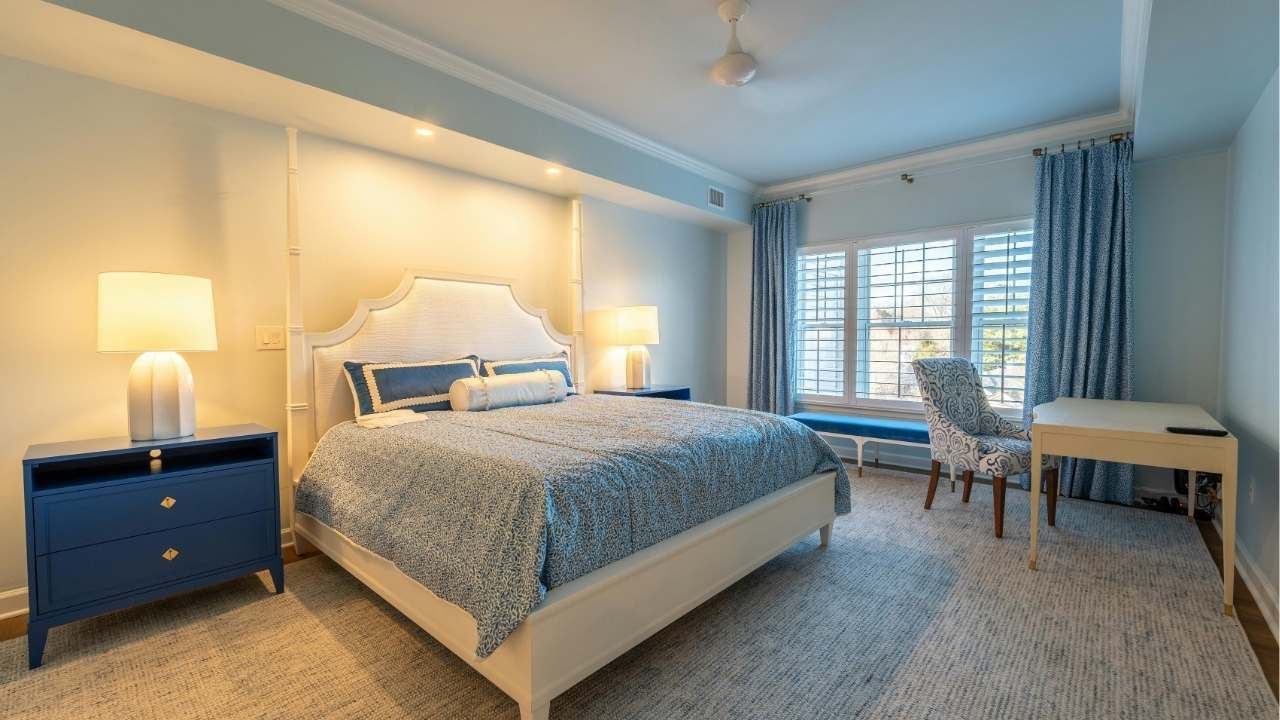
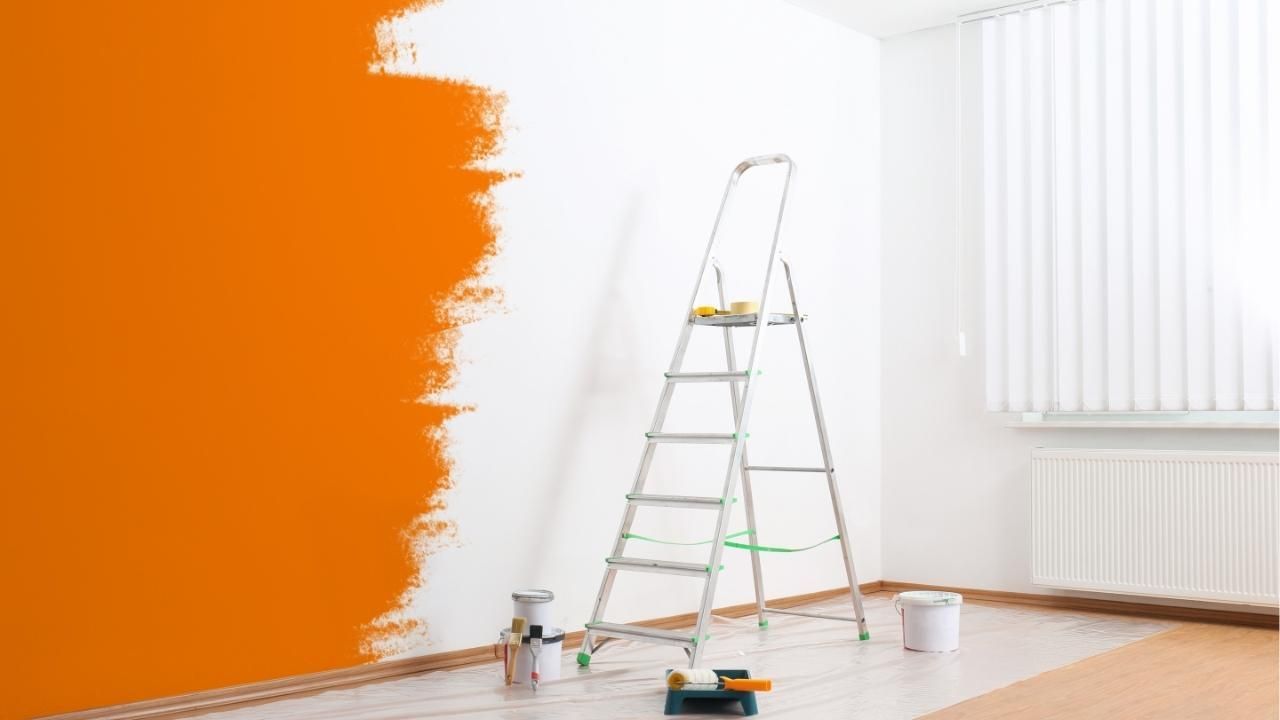
For interior painting, prep may include moving furniture, covering floors, removing outlet covers, taping edges, patching nail holes, sanding rough spots, and cleaning surfaces. If walls have stains, glossy paint, or damaged drywall, the painter may recommend primer before applying the finish coats.
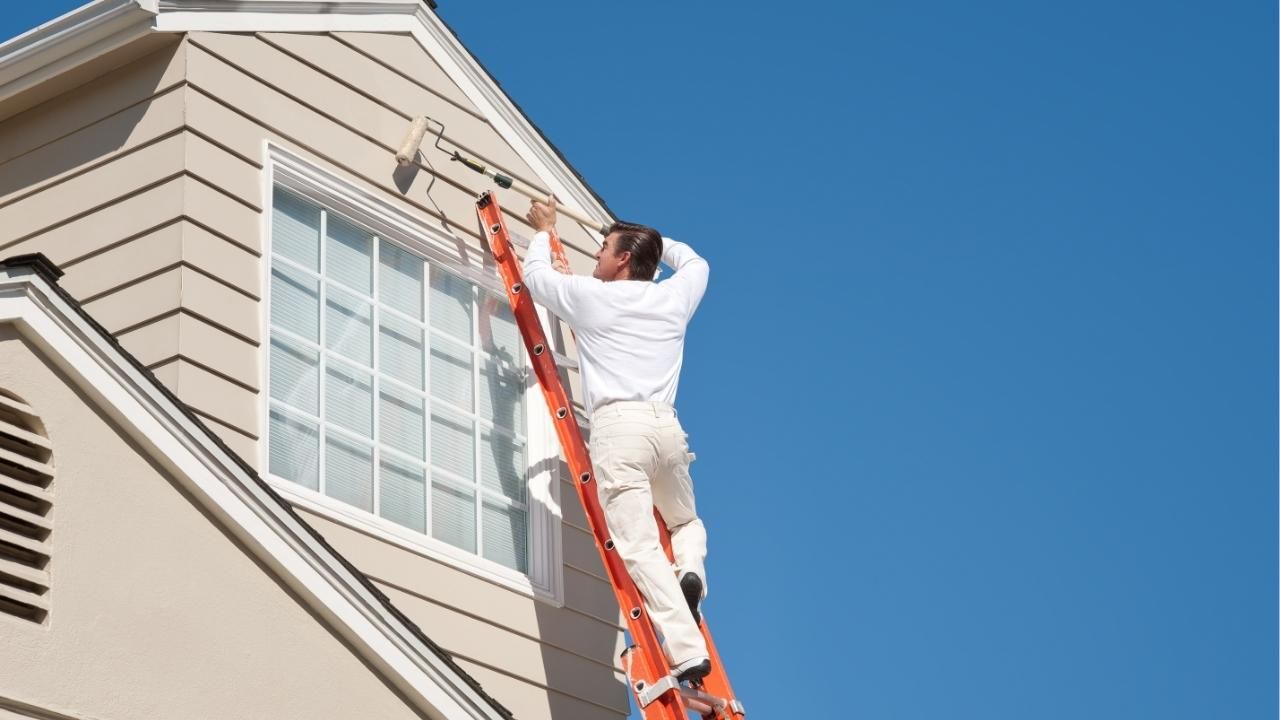
For exterior painting, preparation can be even more involved. Crews may wash siding, scrape loose paint, caulk gaps, repair minor surface damage, sand rough areas, and protect windows, doors, decks, plants, and walkways.
Skipping prep is where cheap painting jobs usually fall apart. Paint is not magic. It needs a clean, stable surface to bond properly. When prep is rushed, you may see peeling, uneven color, flashing, bubbling, or rough texture much sooner than expected.
3. Painting Happens in Planned Stages
After prep is complete, the actual painting begins. Professional painters usually work in a planned order instead of jumping randomly from one area to another.
Inside the home, ceilings often come first, followed by walls, trim, doors, and touch-ups. This order helps reduce mistakes and creates cleaner lines. Outside the home, painters usually work by section, paying attention to shade, weather, drying time, and surface temperature.
A professional crew should also communicate during the job. You should know when they are arriving, which areas they will work on, and whether certain rooms, doors, or outdoor spaces need to be avoided while paint dries.
The best results come from patience. Paint may need more than one coat, especially when changing from dark to light colors, covering stains, or using rich accent shades. Dry time matters too. A rushed second coat can create texture problems or poor adhesion.
4. The Final Walkthrough Protects Your Investment
When the painting is finished, the job is not truly done until the final walkthrough is complete. This is your chance to inspect the work with the painter and point out anything that needs attention.
Look closely at:
- Edges around trim and ceilings
- Coverage in corners
- Drips, splatter, or roller marks
- Door and window frames
- Missed spots near outlets or fixtures
- Exterior siding, fascia, and trim details
A professional painter should welcome this step. The walkthrough is not about being difficult. It is about making sure the finished project matches the agreed scope and quality standard.
After any final touch-ups, the crew should clean the work area, remove coverings, reinstall switch plates, return furniture as agreed, and leave leftover paint labeled for future touch-ups when possible.
Short Case Study: A Cleaner, Brighter Living Space
A homeowner wanted to refresh a dated living room with scuffed beige walls, faded trim, and several patched areas from old wall décor. During the estimate, the painter noticed uneven texture and recommended spot priming before applying the new color. The crew protected the floors, moved furniture to the center, repaired small dents, sanded rough patches, and painted the ceiling, walls, and trim in stages. During the final walkthrough, two small touch-ups were found near a window frame and corrected immediately. The room looked brighter, cleaner, and more modern without a full remodel.
Final Thoughts
A professional residential painting project is more than putting color on walls. It is a step-by-step process built around planning, protection, preparation, skilled application, and final inspection. When each stage is handled properly, the result looks better, lasts longer, and gives your home the refreshed feeling you wanted from the start.
Ready to update your home with less stress and better results? Contact a trusted residential painting professional and schedule an estimate today.